Detailed information about how the program works
- How the settings affect the gallery
- The FTP settings
- Save/Load: Once you have created your gallery, you can save the gallery.
New images can then be added to an existing gallery. Simply load the gallery
and add new images or make changes to the settings are re-upload.
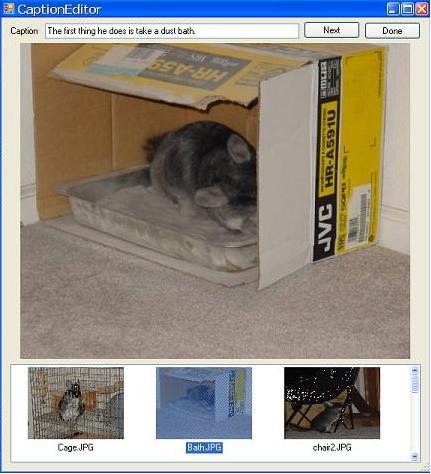
- Captions: Use the caption editor to add or edit image captions. Select the
picture from the list on the bottom. The image will be displayed in full size
and you can enter a caption. Click next to go onto the next image. Click done
when you have finished adding captions.

The captions are stored in the JPEG image itself as IPTC data.
If you aren't using JPEG images, the captions will be lost when the program
is shut down. If you are using the photo gallery software Picasa to organize
your photos, the captions entered in Picasa will be loaded by this program.
- Checked/Un-checked images: Only checked images will be converted and uploaded
to your web page. When you load images into the program they start checked. After
"Generate Page" is pressed, the images are un-checked. Also, when a gallery is
loaded, the images will start un-checked. If you add images to a gallery only
the new images need to be checked. If you change any of the settings or captions
for the images in your gallery, you don't have to re-check the images since
they don't need to be uploaded again.
- PHP: Your web page needs to have PHP installed to display the gallery.
Also, when the ZIP file is uploaded instead of individual files, the ZIP file
is un-compressed using PHP.
- Permissions: The GalleryBuilder will create the directories that you
list in the FTP info if they don't already exist. These directories and the
files that are uploaded are all owned by the user specified in the FTP site
info popup. However, PHP scripts run without any special permissions as user
'nobody'. This means that if you want the program to be able to unzip the
uploaded archive, you need to open up permissions on the gallery directory.
